It’s 2024, and ‘photographs’ are taken, viewed, and shared more than any other existing type of media (okay, don’t quote me on that).
Most photo files are now created using a smartphone or camera, which uses a lens to focus visible wavelengths of light into a reproduction of what the human eye sees on the screen. Pretty cool, eh?
(let me nerd out here for one second – the word photograph is derived from the Greek words φῶς γραφή which translates to ‘drawing with light’. Isn’t that beautiful?)
A RAW file is the uncompressed and unprocessed image data captured by a digital camera’s sensors. Also known as bitmap files, RAW files contain a high level of image detail, meaning large file sizes and lossless quality. Loss-less. Meaning you cannot lose the quality.
RAW files are a type of raster file format, not images themselves. What does this mean? You need to import these files into relevant software before you can edit or export them as a different (lossy) raster image file, like a JPEG or PNG. Lossy is the opposite of lossless, meaning the quality will be lost if the file is blown up too big, or stretched to awkward dimensions.
Using image-editing software such as Adobe Photoshop Lightroom, photographers can adjust the white balance, sharpness, exposure, and much more. From there, the final step is to convert the RAW file into a raster image format, resizing and compressing it to fit its intended use, whether it’s in print or online.
…what does raster image format mean?
Great question! Digital photos and detailed graphics both come in raster file format. Popular types of raster files include JPEG, PNG, and GIF images. The alternative type is vector file format, which we’ll get into in a few minutes.
With raster files, because their pixel number is fixed, the images can become distorted or blurry when resized to fill a bigger or smaller space. That’s why raster images are best suited for websites and social media platforms where the dimensions are set to highlight the size and quality of image(s) needed. For example, typical square social media images are 1080 pixels x 1080 pixels. Graphic Designers and Content Creators will identify the dimensions of the space they are designing for, and with that information, they can create beautiful and eye-capturing images.
…interesting! What is a pixel?
Pixels are the digital equivalent to dots of ink from a printer or artist. The more dots, the clearer the image is that prints out. Less dots, less clarity. Pixels work under the same principle. In fact, The two work hand-in-hand quite well. Pixels = digital, Dots = print. We’re going to dive deeper into resolution in a minute, but first I want to talk vectors. As a Graphic Designer myself, vector files are a personal favourite. Vectors stand out amongst the rest because they are endlessly scalable. How, you ask? By using mathematical algorithms embedded in software programs that establish points on a grid that can be scaled up or down. Designers can use these files to create illustrations, advertisements, video games, and static images because of their ability to be modified, scaled, and resized without loss of quality (also known as a lossless file for this reason 😉).
Okay… is this where resolution comes in?
It IS! So, there are a variety of different definitions of the word, but in photography, it is simply the level of detail contained within an image. That’s it. The greater the pixel ratio per square inch, the better the quality of the image. Bunching more pixels together creates a smoother and more clean image than fewer pixels do.
Let’s take a look at a visual example below, this leaf with water droplets. The image with fewer pixels/dots below will often appear blurry. If you need to enlarge a low-resolution image, you may need to use a program (such as Lightroom) that can adjust the resolution while retaining the pixel quality.
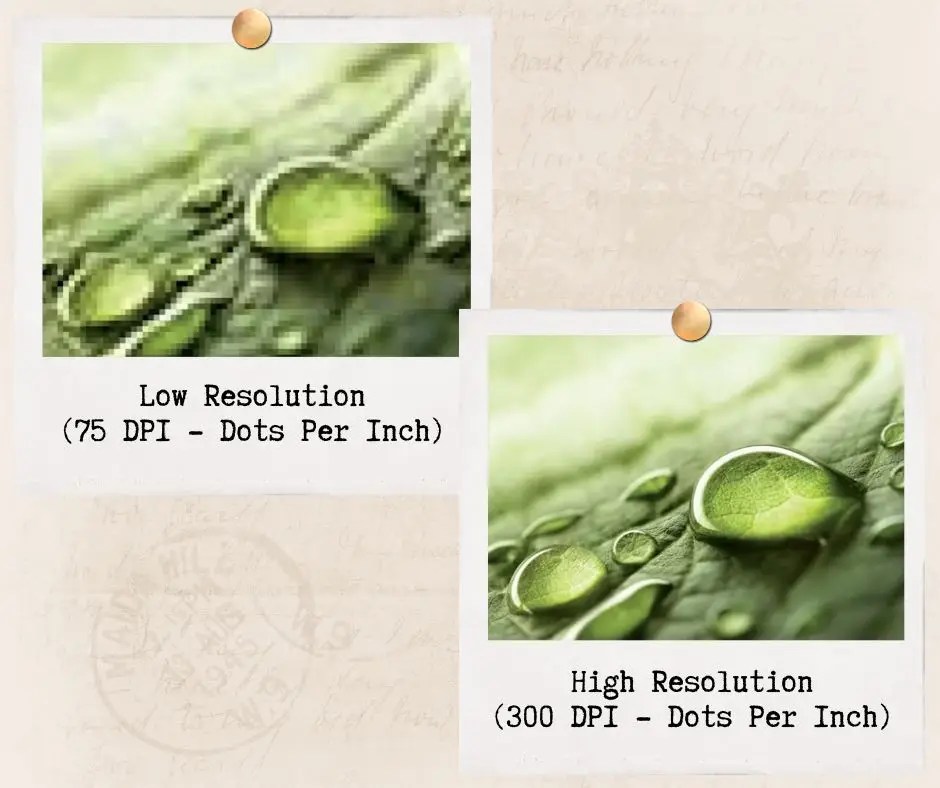
You’ll see in the example above, these photos are measured in Dots Per Inch, or DPI instead of Pixels Per Inch, or PPI. If you aren’t following, let me explain it!
PPI
PPI (Pixels Per Inch) is the number of pixels contained in a digital image. The density of the pixels will determine the amount of detail in an image, based on their concentration. This affects the quality of the output, and ultimately the print size of your design. The higher the Pixels Per Inch, the more concentrated the pixels are, and the more detailed and clear your image becomes.
DPI
DPI (dots per inch) refers to the resolution value of a physical printer. Meaning, it’s the number of ink dots printed on a surface. Printers reproduce an image with tiny dots, and the number of dots per inch affects the amount of detail and the overall quality of the print.
OKAY! Let’s wrap up this wordy blog post with a summary of the top 4 types of image files and how to use them!
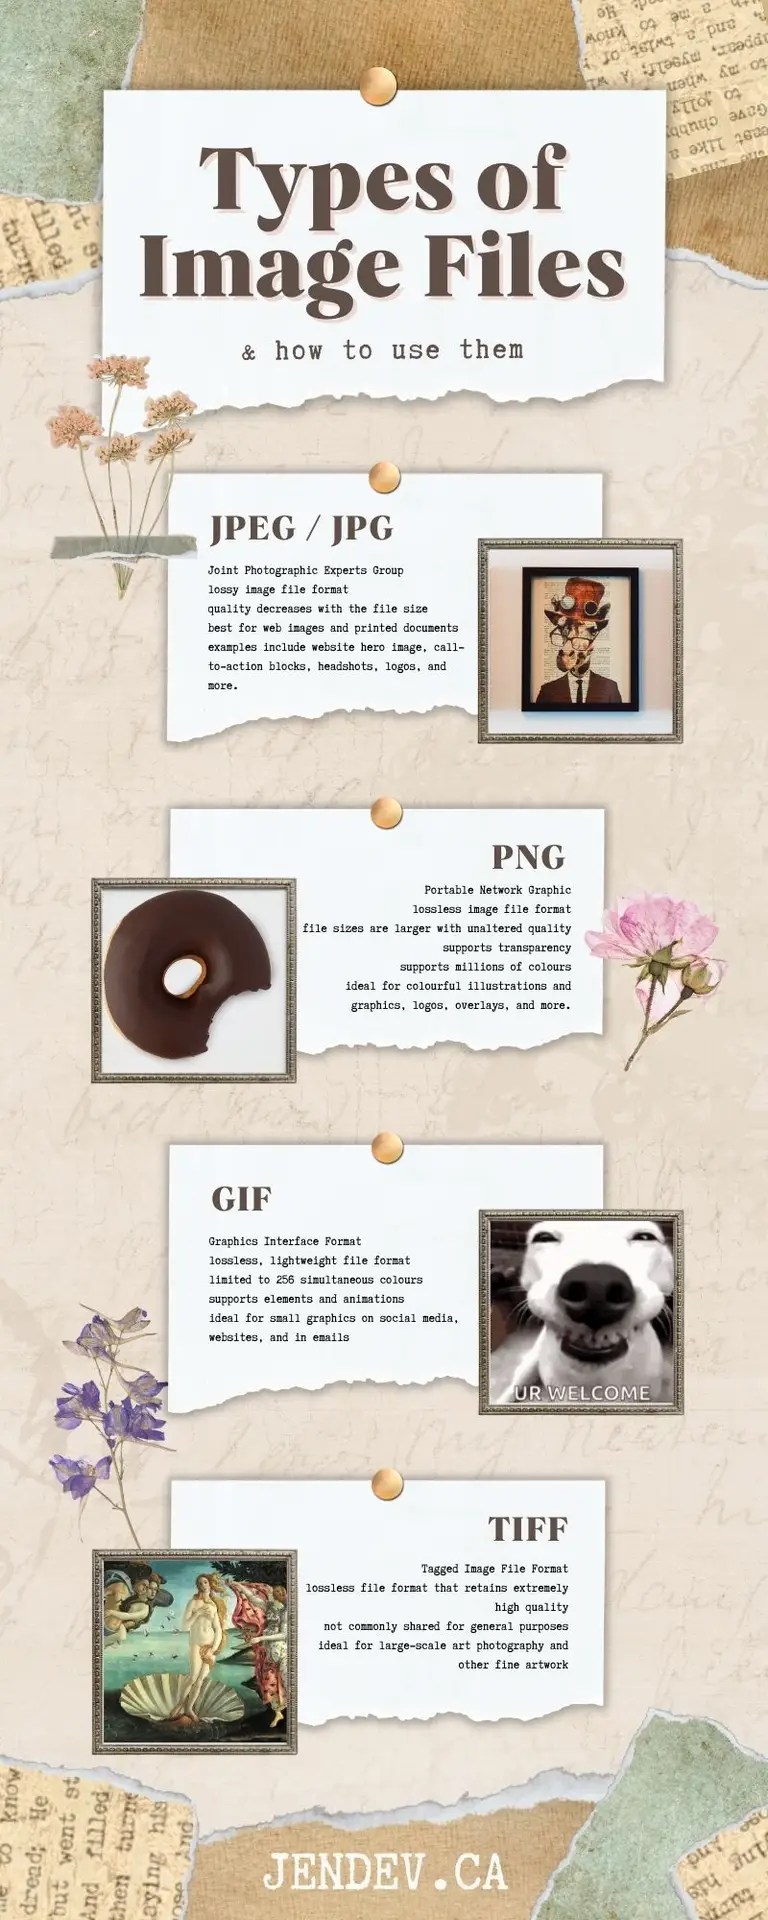
Top 4 types of image files and how to use them:
JPEG — Joint Photographic Experts Group
JPEG (or JPG) is a lossy image file format, meaning its quality decreases with the file size. It’s the best choice for nearly all online images and for some printed photographs and artwork. JPEG is your go-to option for adding images to websites and documents.
GIF — Graphics Interface Format
GIF is a lossless, lightweight image file format ideal for small graphics on websites and in emails. It supports transparent elements and animated graphics. If you see a small animated image on the web, you’re probably looking at a GIF. However, GIFs are limited to 256 simultaneous colors, so they can’t achieve photographic quality.
PNG — Portable Network Graphics
You can think of PNG as the next-generation GIF. It’s a lossless image file format that supports transparency and millions of colors. It can also create animations, but few applications support this feature. PNGs are ideal for colorful illustrations and graphics.
TIFF — Tagged Image File Format
TIFF is the workhorse format for high-resolution printing, including art photography and other fine artwork. It’s a lossless image file format that retains extremely high photographic quality for scanning and printing. However, TIFF file sizes are usually huge, making them difficult to share for general purposes.
This concludes our tour of the land of Image files, what they do, and how to use them. If you enjoyed reading, please consider sharing! I would greatly appreciate it. Until next time!


Leave a comment